How to make tattoo at home
“When we make Play the foundation of learning, we teach the whole child.”
-Vince Gowmon
Experimentation is the foundation of a creative mind. Starting off the process early in a fun-filled way is one of the greatest gifts that you can give your child. It builds a sense of wonder, curiosity and questioning that will hold them in good stead through their adult life.
Here is a fun experiment for making temporary tattoos at home followed by the science behind how and why it works.
What you need
All you need are three simple things that we all have in our homes.
- Smooth surface (glass or ceramic) – you can use a plate, bathtub or even the tiled floor
- Whiteboard marker or dry erase marker
- Water
What to do
Step 1: Clean the surface and wipe it dry.
Step 2: Draw the design on the surface.
Step 3: Pour water over it. You can use warm water as well. Pour it from the centre.
Result
As soon as you pour water, what do you observe?
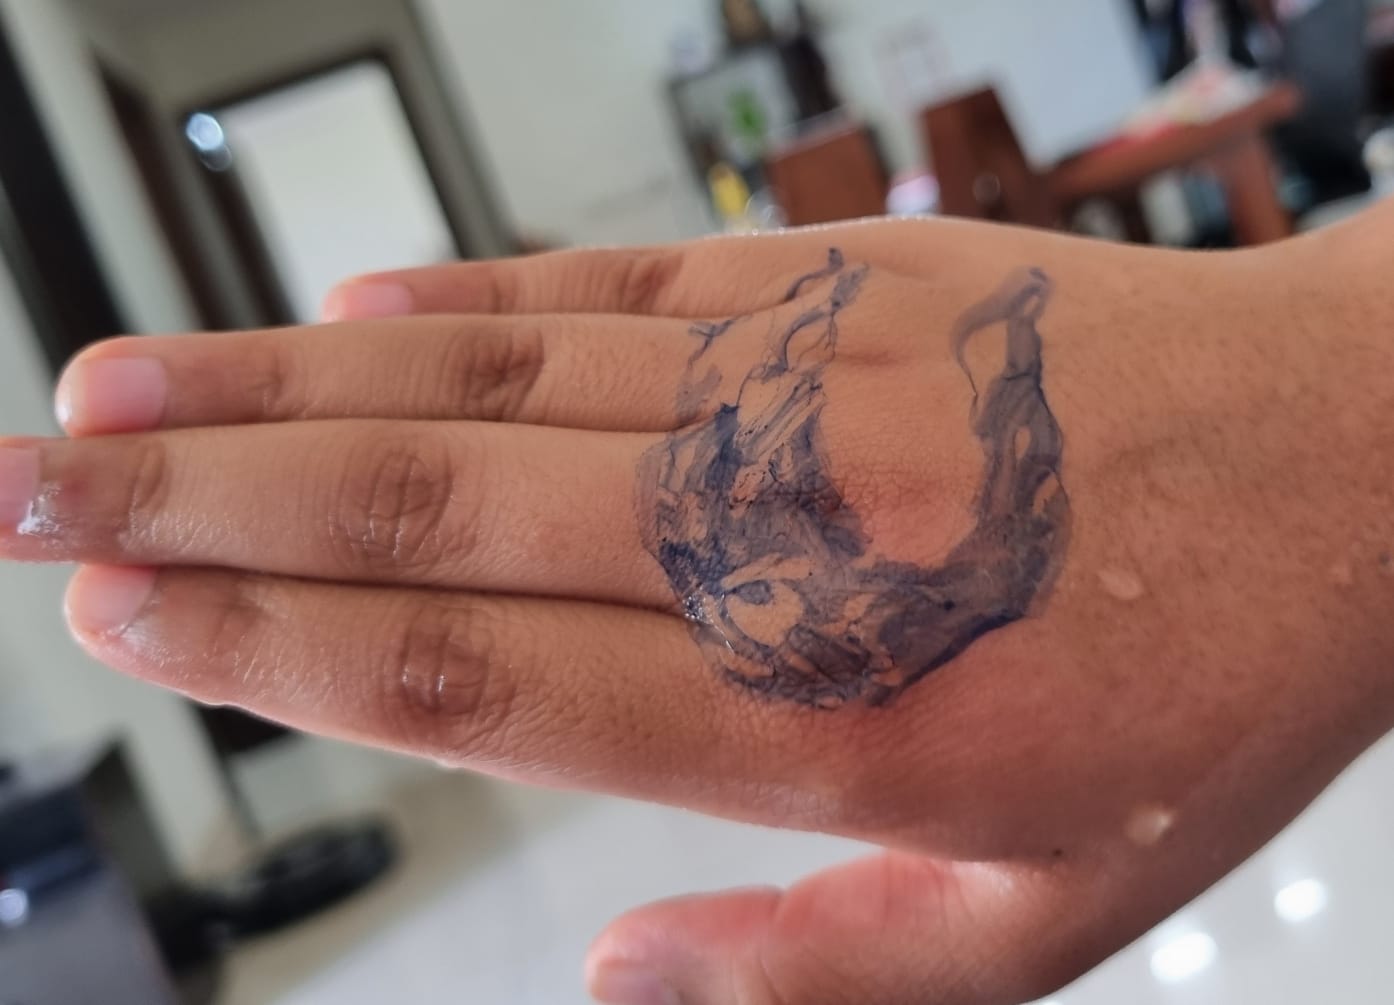
Lo and behold! You will see the design come off from the surface and start to float!
You can stick your hand in and it will stick to your skin like a tattoo. If you are doing it on the tiled floor, use less water and press your hand on the design and it will stick to it.
Here is a video that you can see:
“Science is magic that works.”
-Kurt Vonnegut
The Science behind it
When you make the drawing on the plate, the alcohol which makes the ink liquid, evaporates. The colour is left behind. However, unlike permanent markers, dry erase markers have oily silicone polymers which prevents it from sticking to the surface. That is the reason you can erase it with a wipe of your finger.
Thus, when you pour water on the plate, the water can move beneath the ink (because the oily polymer prevents the ink from sticking to the surface) and the design detaches itself from the surface.
Whiteboard markers or dry erase markers are insoluble. That means the ink does not dissolve when you pour water on it.
The ink is also less dense than water. That is what makes it float on top.
Keep in Mind
It won’t work with permanent markers or sketch-pens because they do not have the oily silicone polymer and therefore stick to the surface and are not released when you pour water.
Pour water gently or the design may spoil.
Hope you enjoy this experiment. Have fun and keep learning!
Do let me know if you or your children tried it at home 🙂
“You can teach a student a lesson for a day, but if you teach him to learn by creating curiosity, he will continue the learning process as long as he lives.”
Clay P. Bedford

Leave a comment